People with ostomies may have difficulties while preparing pouching systems which are suitable for their needs. One of the biggest fears is making a mistake that may result in complications to the surrounding skin or stoma. On the other hand, some people may develop additional medical conditions that may make it hard to prepare the pouching systems; for instance, arthritis. Fortunately, there are various options that you can try.
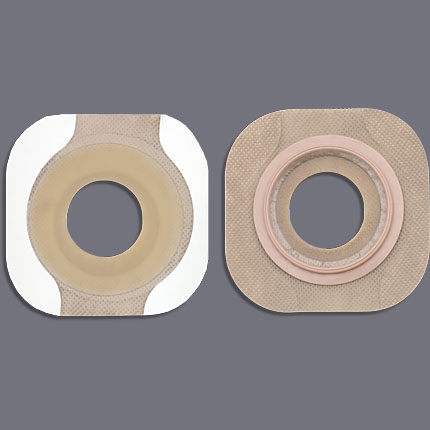
In case your stoma is fairly round, pre-cut pouching systems are suitable for you. The pre-cut systems are made by various companies and are available in the market. Thus, they eliminate the need to prepare the pouching systems at home.
The sizes of the pre-cut pouching systems vary. When selecting a particular pre-cut system, it is prudent to consider the relative size of the stoma and the opening of the flange. Consequently, the flange’s opening should be about three to four millimeters larger compared to the stoma. The size adjustments ensure the systems do not cause trauma to the stoma. For instance, firm convex flanges are likely to cause trauma; hence, the need to carefully consider size adjustments.
You can cut the flange’s opening using a pair of scissors. However, since this may be a concern in conditions like arthritis, a flange-cutter is a suitable substitute. A flange-cutter is a cutting tool that can be round or oval. When using the tool, the flanges should be placed on a hard surface during the cutting to avoid damaging the surfaces beneath.
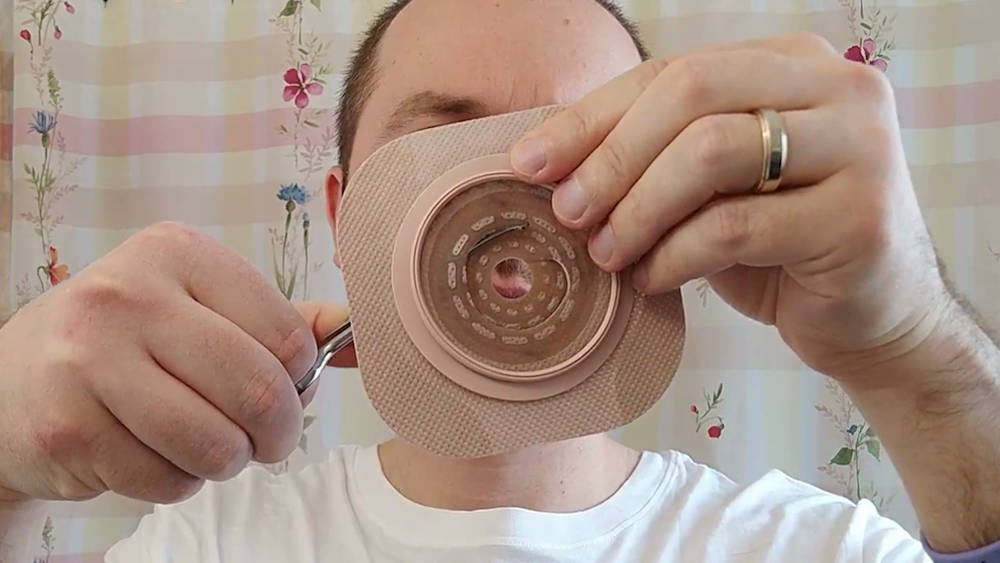
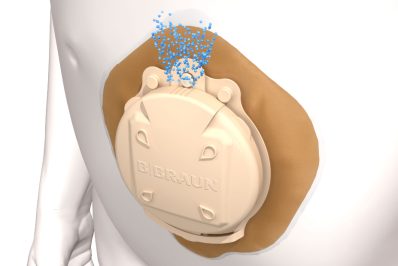
In addition, technology has provided other options that can be employed in ostomy care. For instance, the barrier part of the flange may be left uncut. Pliable technology can be applied in forming the right size and shape of the flanges. Consequently, if you acquire such a flange, roll the inner edge to the optimum dimensions. On application of the flange, you unfold the edge until it touches the stroma; thus, cuffing around it. Interestingly, it will not cause injury to your trauma; hence, no need to worry about the contact point between the stoma and the product.
It is important to remember that the product of pliable technology is useful for people with protruding stomas. The protrusion stops the unraveling of the rolled edge; thus, making it cover the stoma. Additionally, it is a two-piece system; hence, some people may not prefer it.
Another option to take when you face difficulties while cutting your flange is visiting a medical supply store or pharmacy offering the cutting services. Some of the local suppliers and pharmacies offer good flange-cutting services at an affordable rate.
It is advisable to seek professional services than depending on friends or family. However, in case all the options are not feasible, you can seek the help of a family member or friend. Advisably, guide them on how to cut the flanges. Besides, if you are in a local support group, seek help from a volunteer who knows how to cut the flanges. There are many good options. It is your responsibility to decide on what is best for you.